What Number Porting Actually Is
Keeping your phone number when you switch carriers is called number porting. Under federal rules enforced by the FCC, any wireless carrier operating in the United States is required to transfer your number to a competing carrier upon your request. You do not need permission from your current carrier - they are legally obligated to release it.
The process is initiated entirely on the new carrier's side. Once you supply the new carrier with a few pieces of identifying information, they handle the transfer request on your behalf. Your old service continues to work normally until the moment the port completes, at which point service on the old account ends automatically.
Before you start comparing plans, it's worth understanding what your current contract actually covers. Our breakdown of what carriers don't spell out at sign-up covers deprioritization clauses and fees that could affect your decision to leave.
What You Need Before You Start
Gathering the right information beforehand prevents delays. Contact your current carrier - by phone, app, or online account portal - and collect the following:
What you will need
If you are on a prepaid plan, your account number is often printed on the carrier's website dashboard or on a physical SIM card package. The port PIN (sometimes called a transfer PIN) is separate from your voicemail or unlock PIN - ask specifically for the number transfer PIN.
Also confirm whether your phone is unlocked. A locked phone is tied to one carrier's network and may not work properly - or at all - on a new carrier's SIM. Most carriers are required to unlock devices once they are fully paid off and meet their unlock policy requirements. Call your current carrier to request an unlock if needed before proceeding.
Step-by-Step: How to Port Your Number
Follow these steps in order. Do not cancel your old account at any point - the port process does that automatically when it completes.
Choose your new plan and carrier
Research and select the plan you want on the new carrier. Do not cancel your current service. Confirm the new carrier's network covers the areas where you use your phone most - indoor coverage at home and at work matters as much as outdoor maps suggest.
Start the sign-up process with your new carrier
When prompted during sign-up - online, in-store, or by phone - select the option to transfer or bring an existing number. Do not choose a new number, as this cannot be reversed once assigned.
Submit your porting information
Provide the new carrier with your current phone number, account number, transfer PIN, and the name and billing address on your old account. This information must match your old carrier's records exactly - even a small mismatch in address formatting can cause a rejection.
Insert the new SIM or activate an eSIM
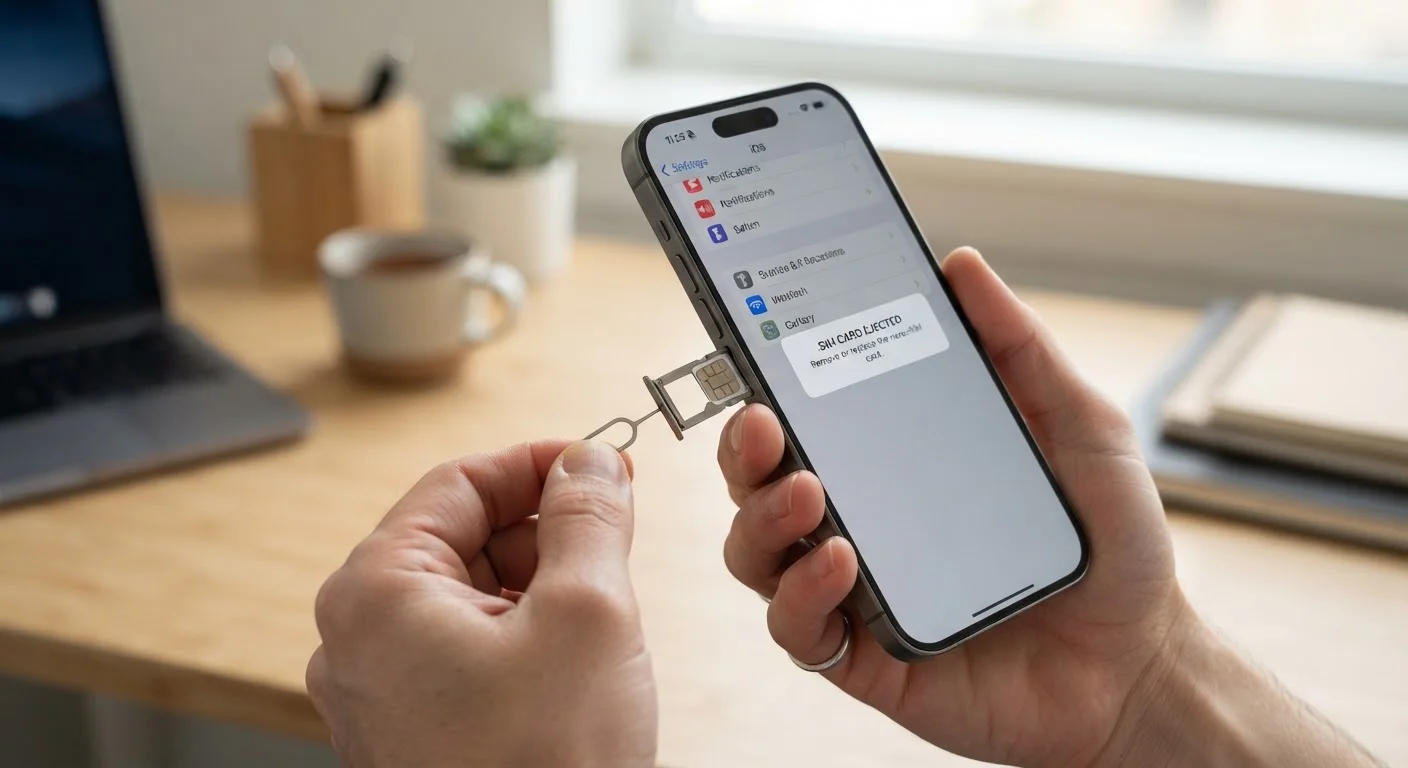
Your new carrier will provide a physical SIM card or eSIM activation instructions. Insert the SIM or follow the eSIM setup steps on your device. Your phone may show no service or display the new carrier's name before the port finalizes - this is normal.
Wait for the port to complete
Most ports complete within a few hours. Some, particularly those involving numbers originally ported from a landline, can take up to 24 hours. You will receive a confirmation from your new carrier when the transfer is complete. Test by making a call or sending a text.
If you run into a port rejection, the most common causes are a mismatched account number, an incorrect transfer PIN, or an outstanding device payment balance. Contact your new carrier's support team - they can identify the specific rejection reason and help you correct it.
For a broader look at what to evaluate when choosing where to move your service, see our pre-signup checklist covering coverage maps, data policies, and contract terms.
What Happens to Your Old Account and Service
Once the port completes, your old carrier's service ends automatically. You are still responsible for any outstanding balance on that account - porting does not waive unpaid bills or device installment balances. Expect a final bill from your old carrier covering any remaining charges through the port date.
Voicemail saved on your old carrier's system is typically not transferred. Save any important voicemails locally before initiating the port. If your old plan included features like Wi-Fi calling or visual voicemail, those will need to be configured fresh with your new carrier. Our article on how phones manage Wi-Fi calling and network switching explains how those features work at a technical level so you know what to expect.
Set Up Voicemail and Wi-Fi Calling Right Away
After your port completes, configure voicemail and Wi-Fi calling on the new carrier before anything else. These features require separate activation on most networks and are not carried over automatically. Your new carrier's app or settings menu is usually the fastest way to get both working.
If you are new to the US wireless market entirely and still deciding which type of plan fits your needs, our first-timer's guide to US mobile plans walks through plan structures, network coverage basics, and contract terms before you commit.